This post may contain affiliate links learn more
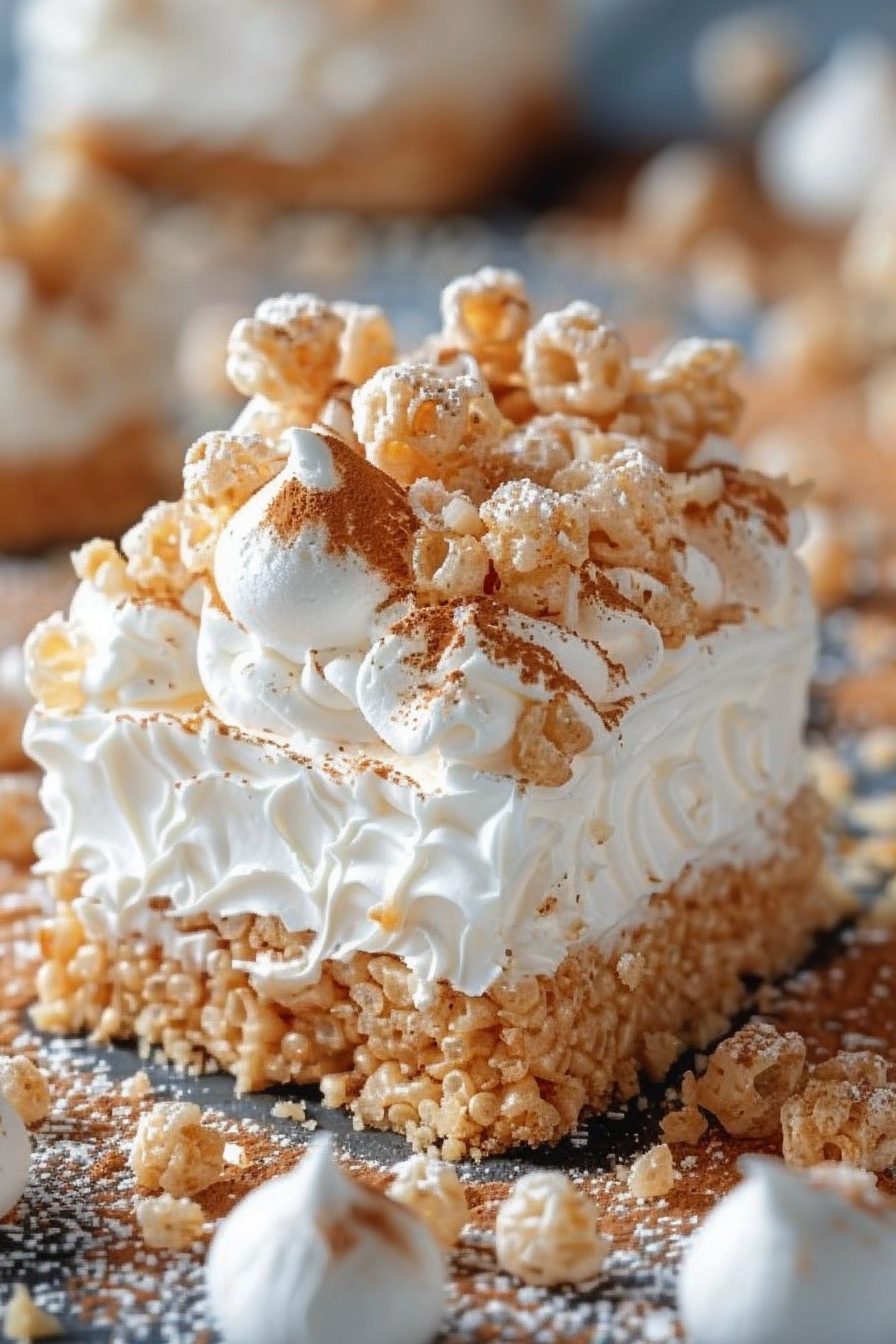
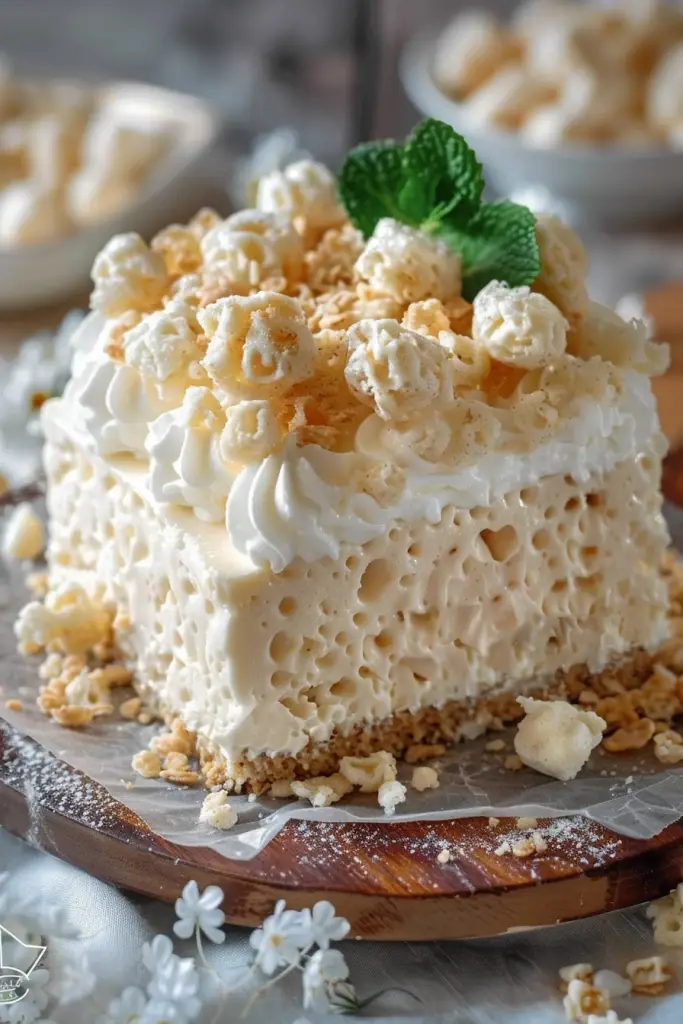
If you’re looking for a cheesecake that’s not only delicious but also brings a delightful crunch, this Rice Krispie Cheesecake is exactly what you need! Combining the nostalgic joy of Rice Krispies with the smooth, rich flavors of cheesecake, it’s a no-bake dessert that’s perfect for any occasion. And best of all? It’s super easy to make! The crispy base paired with the velvety cream cheese filling makes for a winning combination that’ll have everyone asking for seconds.

Why You’ll Love This Recipe
This Rice Krispie Cheesecake is anything but ordinary! The contrast between the crunchy Rice Krispies base and the creamy cheesecake filling is pure magic. Whether you’re serving this at a family gathering, potluck, or just indulging at home, it’s guaranteed to be a hit. Here’s why:
- No-bake simplicity: Skip the oven! This cheesecake comes together in minutes and then chills until it’s ready to enjoy.
- Texture heaven: The crispy, buttery base pairs beautifully with the smooth, airy cheesecake filling.
- Fun for everyone: This recipe brings out a sense of nostalgia, making it enjoyable for both kids and adults alike.
What Does It Taste Like?
Imagine biting into a cheesecake that starts with a sweet, crispy crunch from the Rice Krispies and finishes with the rich, creamy sweetness of cheesecake. The marshmallows in the base add a familiar gooeyness that plays perfectly against the cream cheese filling, and a touch of vanilla adds warmth and depth to the flavor. If you’re feeling adventurous, a hint of lemon juice in the filling brings a refreshing zing that cuts through the sweetness.
Benefits of This Recipe
- Quick and easy: Perfect for when you need a dessert in a pinch.
- Minimal ingredients: You probably already have most of the ingredients in your pantry!
- No-bake: Great for those warm days when you’d rather avoid turning on the oven.
- Crowd-pleaser: This is a guaranteed hit at parties, potlucks, or even just a family dinner.
Ingredients
For the Rice Krispie Base:
- 3 cups Rice Krispies cereal
- 1/4 cup butter
- 1 package (10 oz) marshmallows
For the Cheesecake Filling:
- 16 oz cream cheese, softened
- 1 cup powdered sugar
- 1 tsp vanilla extract
- 1 1/2 cups heavy whipping cream, cold
- 1 tbsp lemon juice (optional, for a slight tang)

How to Make Rice Krispie Cheesecake
Step 1: Prepare the Rice Krispie Base
- In a large pot, melt the butter over medium heat.
- Add the marshmallows and stir until they melt and blend smoothly with the butter. Make sure to keep stirring to avoid any burning.
- Once the mixture is fully combined, remove it from the heat and immediately stir in the Rice Krispies. Stir quickly to ensure the cereal is evenly coated.
- Press the Rice Krispie mixture firmly into the bottom of a greased 9-inch springform pan, forming an even, compact base. Set aside to cool.
Tip: Grease your hands or the back of a spoon with a little butter to make pressing the mixture easier and prevent sticking.
Step 2: Prepare the Cheesecake Filling
- In a large mixing bowl, beat the softened cream cheese, powdered sugar, and vanilla extract until smooth and creamy. Make sure there are no lumps for a perfect texture!
- In a separate bowl, whip the heavy whipping cream until stiff peaks form. The cream should be cold to whip up nicely.
- Gently fold the whipped cream into the cream cheese mixture. Take your time to keep the mixture light and airy.
- If using lemon juice, fold it in at this stage to give the cheesecake a slight tang.
Step 3: Assemble and Chill
- Pour the cheesecake filling over the cooled Rice Krispie base, spreading it evenly across the surface.
- Cover the pan with plastic wrap and refrigerate the cheesecake for at least 4 hours, or until set.
- Once set, remove the cheesecake from the springform pan, slice, and serve!
What to Serve with Rice Krispie Cheesecake
This cheesecake is fantastic on its own, but if you’re looking to dress it up a bit, here are some serving suggestions:
- Fresh berries: Strawberries, raspberries, or blueberries add a burst of freshness.
- Chocolate drizzle: A light drizzle of melted chocolate or chocolate syrup adds a rich layer to the dessert.
- Whipped cream: A dollop of freshly whipped cream takes this to the next level.
- Caramel sauce: Drizzle over the top for extra indulgence!
Tips for Making the Perfect Rice Krispie Cheesecake
- Use fresh marshmallows: Older marshmallows don’t melt as well and can create a sticky, tough base.
- Chill the whipping cream: Ensure your heavy whipping cream is cold before whipping it to get those perfect stiff peaks.
- Press the base firmly: Make sure to compact the Rice Krispie base tightly in the pan so it holds together well when you slice the cheesecake.
Storage Instructions
This Rice Krispie Cheesecake can be stored in the refrigerator, covered, for up to 3 days. If you’d like to freeze it, wrap it tightly in plastic wrap and store it for up to 2 months. To serve, thaw in the refrigerator overnight.
Frequently Asked Questions (FAQ)
Can I make this cheesecake in advance?
Yes! In fact, it’s best to make this cheesecake the day before serving, as it needs time to chill and set in the refrigerator.
Can I use flavored marshmallows for the base?
Absolutely! Using flavored marshmallows can add a fun twist to the flavor of your Rice Krispie base. Just be sure the flavor complements the cheesecake filling.
Can I substitute low-fat cream cheese?
Yes, you can substitute low-fat cream cheese, but keep in mind that the texture might be slightly less rich and creamy.
How long does it take for the cheesecake to set?
The cheesecake should be refrigerated for at least 4 hours, but overnight chilling is ideal to ensure it’s fully set.
Conclusion
This Rice Krispie Cheesecake is an absolute crowd-pleaser! With its crunchy, buttery base and rich, creamy filling, it’s bound to become a go-to dessert in your household. The recipe is incredibly simple, making it perfect for both novice and experienced bakers. Plus, it’s endlessly customizable, so feel free to get creative with toppings or flavored marshmallows. Try it out at your next gathering, and watch it disappear!
Love this recipe? Don’t forget to check out these other fun cheesecake variations:
- Strawberry Shortcake Cheesecake
- No-Bake Chocolate Cheesecake
- Peach Cobbler Cheesecake
If you try this recipe, I’d love to see your creation! Snap a photo and share it with me on Pinterest. And don’t forget to leave a review below!
Nutritional Information (per serving):
- Calories: 450
- Fat: 32g
- Carbohydrates: 35g
- Protein: 5g
Enjoy this decadent, no-bake treat!
PrintRice Krispie Cheesecake: A Fun Twist on a Classic Dessert!
- Total Time: 4 hours 20 minutes
- Yield: 8–10 slices 1x
- Diet: Vegetarian
Description
This Rice Krispie Cheesecake is a delicious no-bake dessert that combines a crunchy Rice Krispie treat base with a creamy, tangy cheesecake filling. It’s the perfect blend of textures, making it a fun and unique dessert for any occasion. Easy to prepare and ideal for serving at parties or family gatherings!
Ingredients
For the Rice Krispie Base:
- 3 cups Rice Krispies cereal
- 1/4 cup butter
- 1 package (10 oz) marshmallows
For the Cheesecake Filling:
- 16 oz cream cheese, softened
- 1 cup powdered sugar
- 1 tsp vanilla extract
- 1 1/2 cups heavy whipping cream, cold
- 1 tbsp lemon juice (optional)
Instructions
- Prepare the Rice Krispie Base
In a large pot, melt the butter over medium heat. Add the marshmallows and stir until fully melted and smooth. Remove from heat and stir in the Rice Krispies until evenly coated. Press the mixture firmly into the bottom of a greased 9-inch springform pan to create the base. Let it cool and set aside. - Prepare the Cheesecake Filling
In a mixing bowl, beat the softened cream cheese, powdered sugar, and vanilla extract until smooth and creamy. In a separate bowl, whip the heavy whipping cream until stiff peaks form. Gently fold the whipped cream into the cream cheese mixture until fully combined. If using, stir in the lemon juice for a slight tang. - Assemble and Chill
Pour the cheesecake filling over the Rice Krispie base and spread evenly. Cover and refrigerate for at least 4 hours, or until fully set. - Serve and Enjoy
Once chilled, remove the cheesecake from the springform pan, slice, and serve! Enjoy the sweet, crunchy base paired with the creamy, tangy cheesecake filling.


Notes
- Make sure the heavy whipping cream is cold for easy whipping.
- For easier pressing of the Rice Krispie base, lightly grease your hands or the back of a spoon.
- The cheesecake needs at least 4 hours to set, but overnight chilling is ideal for the best texture.
- Feel free to customize the base with flavored marshmallows or add fruit toppings for a fun twist!
- Prep Time: 20 minutes
- Cook Time: 4 hours
- Category: Dessert
- Method: No-bake
- Cuisine: American
Nutrition
- Serving Size: 1 slice (based on 10 slices)
- Calories: 450 kcal
- Sugar: 30g
- Sodium: 180mg
- Fat: 32g
- Saturated Fat: 19g
- Unsaturated Fat: 10g
- Trans Fat: 0g
- Carbohydrates: 35g
- Fiber: 0g
- Protein: 5g
- Cholesterol: 80mg