This post may contain affiliate links learn more
Oh, the joy of finding a delicious recipe that breathes new life into leftovers! Today, I’m beyond thrilled to share a recipe that transforms the humble remains of last night’s dinner into something spectacular. Who knew that leftover mashed potatoes could turn into something so irresistibly cheesy and crisp? If you’ve been following along with me, you know I promised you versatile, and here’s proof!
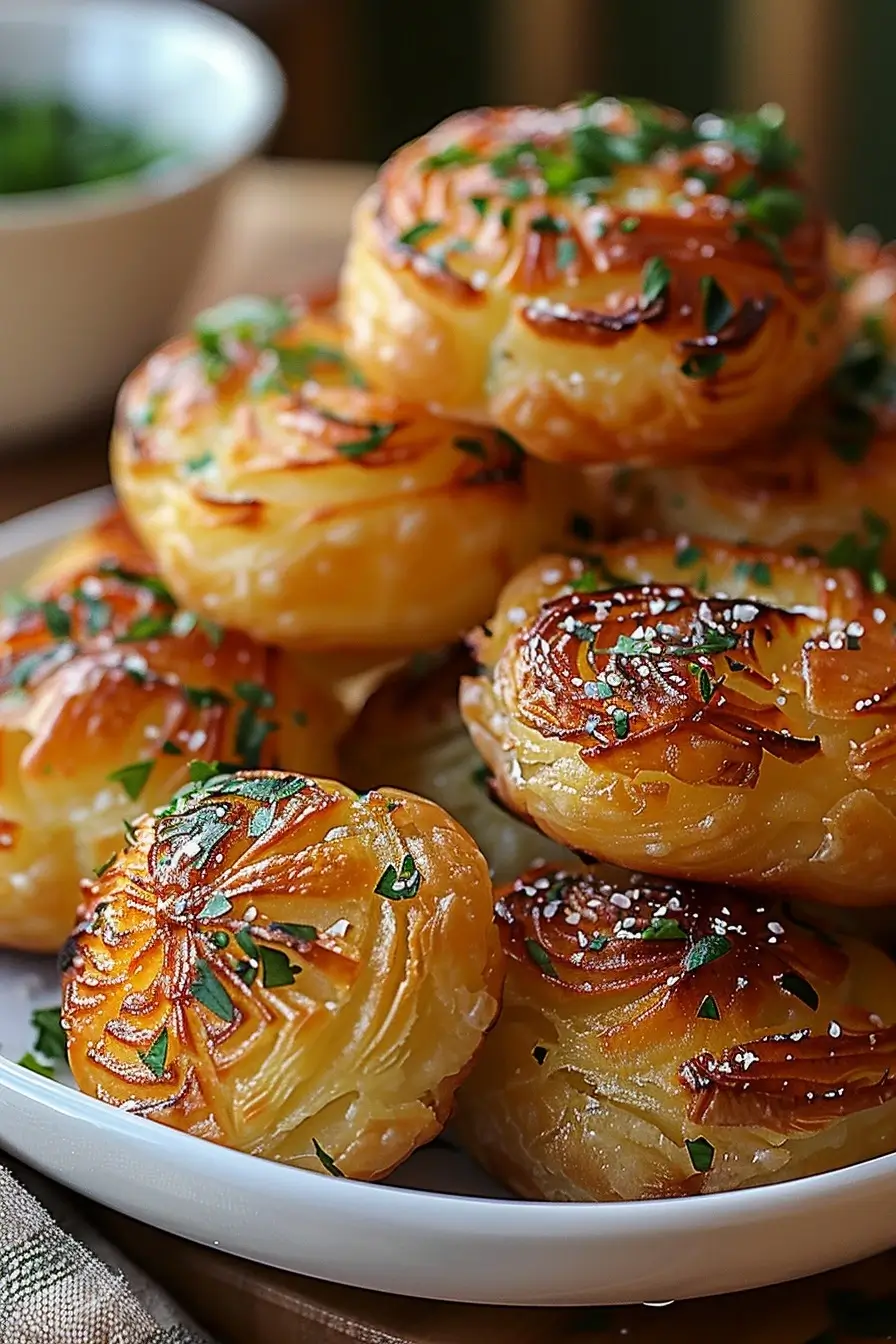
Leftover mashed potatoes usually mean one of two things: reheating them for another side dish or letting them sit in the fridge until you guiltily throw them out. Not anymore! With this easy-to-make recipe for Leftover Mashed Potato Cheese Puffs, you’ll be looking forward to those extra potatoes. Imagine crispy, golden puffs filled with melty cheese and a hint of garlic, perfect for turning heads at any gathering or simply spicing up your meal at home!
Ingredients
- 2 cups leftover mashed potatoes
- 1 cup shredded cheddar cheese
- 1/4 cup grated Parmesan cheese
- 2 tablespoons chopped chives (optional)
- 1/4 teaspoon garlic powder
- Salt and pepper to taste
- 2 large eggs
- 1/2 cup breadcrumbs
- Cooking spray or oil for greasing

How to Make Instructions
- Preheat the Oven: Start by heating your oven to 400°F (200°C). While it warms up, lightly grease a baking sheet with cooking spray or a bit of oil.
- Mix Ingredients: In a large bowl, stir together the mashed potatoes, cheddar cheese, Parmesan cheese, chives (if using), garlic powder, salt, and pepper until everything is well combined.
- Prepare Eggs: In a separate bowl, whisk the eggs until smooth.
- Shape the Puffs: With a spoon, scoop the potato mixture and form small balls or patties with your hands.
- Coat the Puffs: Dip each ball or patty into the beaten eggs, then roll them in breadcrumbs to coat evenly.
- Bake: Arrange the puffs on the prepared baking sheet and bake in the preheated oven for 20-25 minutes, or until they turn golden brown and crispy.
- Enjoy: Serve your cheesy, crispy potato puffs hot from the oven!
Helpful Tips
- Consistency Check: If your mashed potato mixture seems too wet, add a little extra breadcrumb to help the puffs hold together better.
- Make It Crispier: For even more crunch, consider double breading the puffs by dipping them in egg and breadcrumbs twice.
Substitutions/Variations
- Cheese Varieties: Feel free to mix and match different cheeses. Mozzarella can give you lovely cheese pulls, while a sharper cheese like aged cheddar can add a deeper flavor.
- Add-Ins: Consider adding diced cooked bacon, small ham pieces, or even jalapeños for a spicy kick.
Frequently Asked Questions
Can I make these ahead of time? Absolutely! Shape them and keep them refrigerated on the baking sheet, covered, until you’re ready to bake.
Can I freeze them? Yes, you can freeze the shaped, unbaked puffs. Just add a few extra minutes to the baking time when you’re ready to cook them from frozen.
Storage Instructions
Leftover baked cheese puffs can be stored in an airtight container in the refrigerator for up to three days. Reheat in the oven or toaster oven to maintain their crispiness.
More Relevant Recipes
- Pecan Pie Cheesecake
- Crispy Garlic Potato Wedges
- Parmesan Potato Stacks
Thank you for joining me on this delicious journey through the land of leftovers! These mashed potato cheese puffs are anything but boring and are sure to delight everyone at your table. Happy cooking!
Print
Leftover Mashed Potato Cheese Puffs
- Total Time: 55 minutes
- Yield: 8 servings
Description
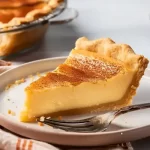
Summer has graced us once again, and what better way to celebrate than with a dish that sings the praises of summer’s bounty? My Delightful Summer Zucchini Tart is not only a visual stunner but also a masterpiece of flavors. Made with fresh, thinly sliced zucchini and a rich, buttery pastry, this tart is perfect for any gathering or a cozy meal at home. Let’s dive into a dish that brings together the simplicity and freshness of summer in every bite!
Ingredients
- 1 pre-made pie crust
- 2 medium zucchini, thinly sliced
- 1 cup ricotta cheese
- 1/2 cup mozzarella cheese, shredded
- 1/4 cup Parmesan cheese, grated
- 1 tablespoon olive oil
- 1 teaspoon garlic, minced
- Salt and pepper to taste
- 2 teaspoons fresh thyme leaves
- 1 beaten egg for egg wash
Instructions
- Preheat the Oven: Begin by heating your oven to 375°F (190°C).
- Prepare the Pie Crust: Roll out the pre-made pie crust into a 9-inch tart pan. Trim the excess and poke the bottom with a fork to prevent bubbling.
- Mix Fillings: In a bowl, combine ricotta, mozzarella, Parmesan, olive oil, garlic, salt, and pepper.
- Assemble the Tart: Spread the cheese mixture evenly over the crust. Arrange the zucchini slices in overlapping concentric circles on top.
- Season and Bake: Sprinkle fresh thyme over the zucchini. Brush the edges of the crust with egg wash. Bake for 35-40 minutes until the crust is golden and zucchini is tender.
- Serve and Enjoy: Let the tart cool slightly before slicing. Serve warm and relish the flavors of summer!
Notes
- For a more golden crust, you can pre-bake the crust for about 10 minutes before adding the fillings.
- Feel free to add other herbs like basil or rosemary for a different flavor profile.
- Prep Time: 15 minutes
- Cook Time: 40 minutes
- Category: Main Course
- Method: Baking
- Cuisine: Fusion
Nutrition
- Serving Size: 1 slice
- Calories: 250
- Sugar: 2g
- Sodium: 320mg
- Fat: 15g
- Saturated Fat: 6g
- Unsaturated Fat: 7g
- Trans Fat: 0g
- Carbohydrates: 20g
- Fiber: 1g
- Protein: 8g
- Cholesterol: 30mg