This post may contain affiliate links learn more
There’s something undeniably magical about the holidays, and what better way to embrace the season than by making homemade candy canes? These handcrafted delights are more than just a sweet treat—they’re a symbol of joy, tradition, and creativity. Whether you’re gathering with family or indulging in some solo kitchen therapy, this recipe is guaranteed to fill your home with festive cheer.
Oh, and don’t forget: buttered hands are your best friend for this recipe! Ready to create your very own candy canes? Let’s dive in.
Get quick, easy, and delicious recipes delivered straight to your inbox! Sign up for our newsletter and never miss a festive favorite.
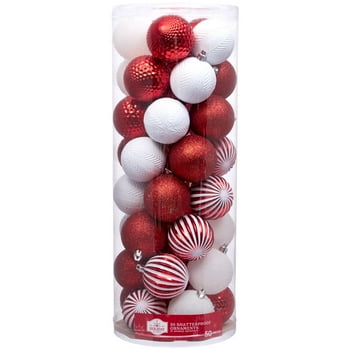
Add sparkle to your tree with these shatterproof red & white ornaments – shop now!
 Buy Now →
 Why You’ll Love These Homemade Candy Canes
Homemade candy canes are a game-changer! Here’s why:
- Superior Taste: Forget the waxy, overly sweet store-bought version. These candy canes have the perfect balance of peppermint freshness and melt-in-your-mouth sweetness.
- Interactive Fun: This recipe is a hands-on experience! Pulling and twisting the candy brings everyone together, making it ideal for family bonding.
- Customizable: You can play with colors, shapes, and flavors to make your candy canes uniquely yours.
- Holiday Magic: Nothing beats the joy of saying, “I made these!” when handing out treats during the holidays.
What Do Homemade Candy Canes Taste Like?
These candy canes are a flavor explosion of cool peppermint paired with the satisfying crunch of perfectly set sugar candy. Unlike store-bought versions, which can sometimes taste overly artificial, these deliver an authentic and refreshing minty flavor that’s perfect for the season.
Benefits of Making Homemade Candy Canes
- Better Ingredients: No unnecessary additives or preservatives.
- Creative Control: Choose your favorite colors or swap peppermint for other extracts like orange or almond.
- Memorable Moments: Perfect for gifting or making with loved ones during holiday gatherings.
Ingredients for Homemade Candy Canes
Here’s what you’ll need to get started:
- 2 cups sugar
- ½ cup light corn syrup
- ½ cup water
- ¼ tsp cream of tartar
- 1 tsp peppermint extract
- 1 tsp red food coloring
Essential Tools
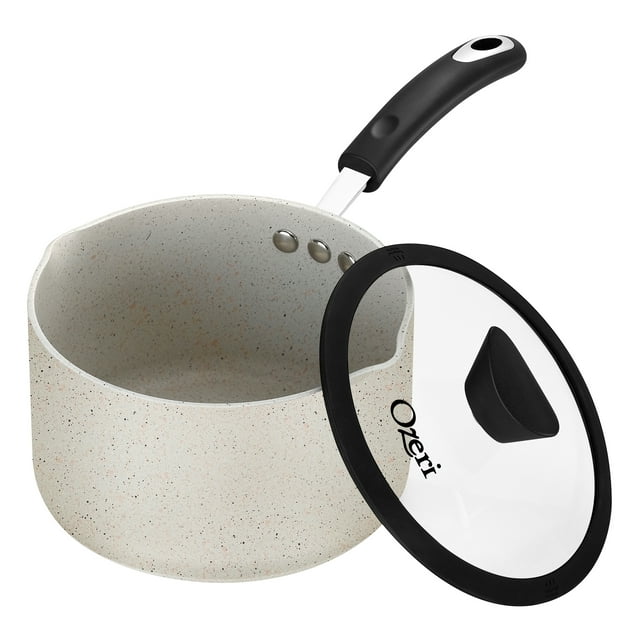
- A heavy-bottomed saucepan or small pot
- A candy thermometer (a must for accuracy!)
- Butter (to grease cookie sheets and your hands)
- Two cookie sheets
Find Your Saucepan Here!
 Buy Now →
 How to Make Homemade Candy Canes
1. Prepare the Candy Mixture
Combine the sugar, corn syrup, water, and cream of tartar in a heavy-bottomed saucepan. Stir over medium heat until the sugar dissolves. Increase the heat and let the mixture cook without stirring until it reaches the hard-ball stage (265°F on your candy thermometer).
2. Add Flavor and Color
Remove the pan from the heat. Stir in the peppermint extract. Divide the mixture into two portions. Add red food coloring to one portion, leaving the other clear or white. Pour each portion onto separate buttered cookie sheets.
3. Pull the Candy
When the candy cools enough to handle, grease your hands with butter and start pulling each portion separately. This step is easier with two people: one can pull the white candy while the other works on the red. Stretch, fold, and repeat until the candy becomes glossy and starts to harden.
4. Twist and Shape
Form each portion into ropes. Twist the red and white ropes together and cut them into 8-inch lengths. Shape each length into a candy cane and place it on a lightly buttered platter to harden completely.
What to Serve with Candy Canes
- Crushed candy canes make a delicious topping for Christmas Rice Krispie Treat Bites. Try the recipe here.
- Serve alongside Easy Homemade Divinity Candy for a gorgeous holiday candy platter. Get the recipe here.
- Add them to hot cocoa or use them as a stirrer for extra peppermint flavor.
Tips for Making Perfect Candy Canes
- Work Quickly: Once the candy starts to cool, it becomes hard to shape, so speed is key.
- Use a Candy Thermometer: Accuracy matters when working with sugar.
- Butter is Essential: Keep your hands buttered to avoid sticky disasters.
- Practice Makes Perfect: Candy pulling can be tricky, but each attempt gets easier.
Storing Homemade Candy Canes
Store candy canes in an airtight container at room temperature. Separate layers with wax paper to prevent sticking. They’ll stay fresh for up to 2 weeks.
Frequently Asked Questions
Can I use different flavors instead of peppermint?
Absolutely! Try using extracts like cinnamon, vanilla, or orange for a unique twist.
What if my candy becomes too hard to pull?
Reheat it gently in the oven on a buttered baking sheet until it softens.
Can I make smaller candy canes?
Yes! Adjust the length and thickness to create mini versions, which are perfect for gifting.
Conclusion
Homemade candy canes are the perfect holiday activity for those who love a good mix of creativity and deliciousness. They make fantastic gifts, festive decorations, and tasty treats for everyone on your list.
Looking for more holiday inspiration? Try our Homemade Lemon Drops for a tangy twist, or make your dessert table shine with Easy Homemade Divinity Candy.
Share your candy cane creations with us on Pinterest and don’t forget to pin this recipe for later. Happy Holidays and Merry Candy-Making!


Homemade Candy Canes: A Festive and Fun DIY Treat! 🎄
- Total Time: 30 minutes
- Yield: About 12 candy canes
- Diet: Vegetarian
Description
These homemade candy canes are a festive holiday tradition that’s fun to make and even more fun to eat! With a crisp peppermint flavor and a stunning red-and-white twist, they’re perfect for gifting, decorating, or enjoying as a treat. Butter up your hands and get ready to create magic in the kitchen!
Ingredients
- 2 cups sugar
- ½ cup light corn syrup
- ½ cup water
- ¼ tsp cream of tartar
- 1 tsp peppermint extract
- 1 tsp red food coloring
Instructions
- Combine sugar, corn syrup, water, and cream of tartar in a heavy-bottomed saucepan. Heat and stir until the sugar dissolves.
- Increase heat and cook without stirring until the mixture reaches the hard-ball stage (265°F).
- Remove from heat and add peppermint extract. Divide the mixture in half, adding red food coloring to one portion.
- Pour each portion onto separate buttered cookie sheets.
- Once cool enough to handle, butter your hands and pull each candy portion until glossy.
- Form both portions into ropes, twist them together, and cut into 8-inch lengths. Shape into candy canes and allow to harden on a buttered platter.
Notes
- Work quickly during the pulling and shaping process, as the candy cools and hardens fast.
- Be sure to butter your hands to prevent sticking.
- Store finished candy canes in an airtight container separated by wax paper for freshness.
- Prep Time: 5 minutes + cooling and shaping time
- Cook Time: 10 minutes
- Cuisine: american
Nutrition
- Serving Size: 1 candy
- Calories: 112
- Sugar: 28g
- Sodium: 4mg
- Fat: 0
- Saturated Fat: 0
- Unsaturated Fat: 0
- Trans Fat: 0
- Carbohydrates: 29g
- Fiber: 0
- Protein: 0
- Cholesterol: 0


