
This post may contain affiliate links learn more
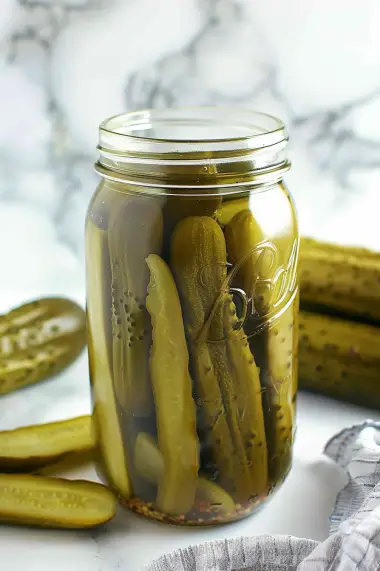
Hello, my dear food lovers! I am so thrilled to share with you a recipe that has brought so much joy and tanginess to my kitchen table. We’re talking about homemade Garlic Dill Pickles today! I am beyond grateful for your enthusiasm and constant support that inspires me to hunt down and craft recipes that add that extra ‘oomph’ to our meals.
If you’ve ever thought pickling was a culinary art out of your reach, let me take your hand and guide you through a surprisingly simple yet satisfying process. Get ready to transform humble cucumbers into a crunchy, garlicky, and dill-infused masterpiece!
Ingredients
To get started, you’ll need the following ingredients:
- 1½ lbs. cucumber, preferably fresh and crisp
- 4 garlic cloves, smashed for that bold garlic kick
- 1 tsp. dill, dried to infuse our brine with its distinct flavor
- ½ tsp. red pepper flakes, optional for a spicy twist (omit if you prefer a milder pickle or are following an AIP diet)
- 1 cup apple cider vinegar, for that essential tangy base
- 1 cup water, to dilute the vinegar just right
- 1½ tbsp. sea salt, to help the pickling process and add flavor

How to Make Garlic Dill Pickles
Let’s dive into the making of these delightful pickles:
- Prepare the cucumbers: Wash your cucumbers thoroughly and cut them into spears or slices, depending on your preference.
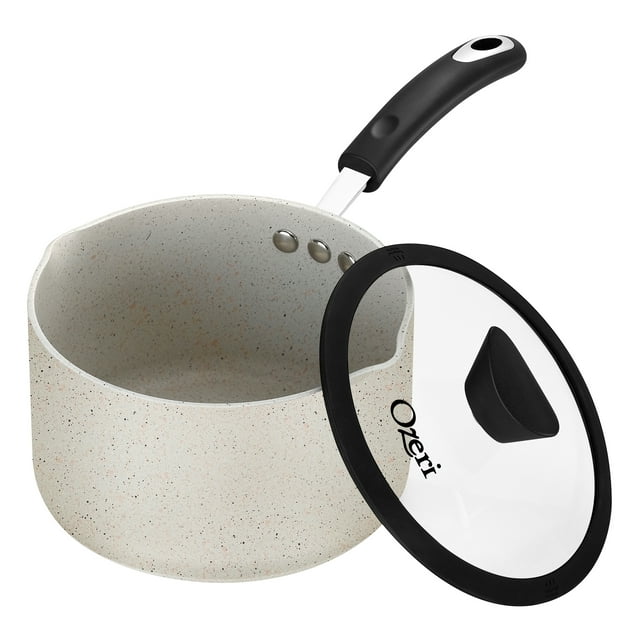
- Mix the brine: In a saucepan, combine the apple cider vinegar, water, and sea salt. Bring the mixture to a boil, ensuring the salt dissolves completely.
- Layer the flavors: In a clean, sterilized jar, layer the cucumber pieces tightly. Add the smashed garlic cloves, dill, and if using, red pepper flakes between the layers for even flavor distribution.
- Pour the brine: Carefully pour the hot brine over the cucumbers in the jar, making sure to cover them completely.
- Seal and cool: Close the jar with a tight-fitting lid. Let it cool to room temperature before refrigerating.
- Patience is key: Allow the pickles to marinate in the refrigerator for at least 48 hours before enjoying. This wait time allows the flavors to meld beautifully.
Helpful Tips
- Crunchiness secret: To keep your pickles crisp, add a grape leaf or a small piece of horseradish leaf to the jar. These contain natural tannins that help maintain crunch.
- Sterilize your jars: Always use sterilized jars to prevent bacteria growth and ensure your pickles last longer.
Substitutions/Variations
- Herb swaps: Not a fan of dill? Try using fresh tarragon or even mint for a different flavor profile.
- Vinegar varieties: Apple cider vinegar is wonderful, but white vinegar can also be used for a sharper taste.
Frequently Asked Questions
- Can I reuse the brine? It’s not recommended to reuse brine for making new batches of pickles as the strength and safety of the brine diminish with use.
- Why are my pickles soft? Soft pickles often result from enzymes in cucumbers. Ensuring the cucumbers are fresh and adding a grape leaf can help prevent this.
Storage Instructions
Store your Garlic Dill Pickles in the refrigerator, tightly sealed. They will keep well for up to 2 months. Always use clean utensils to take pickles out to avoid contamination.
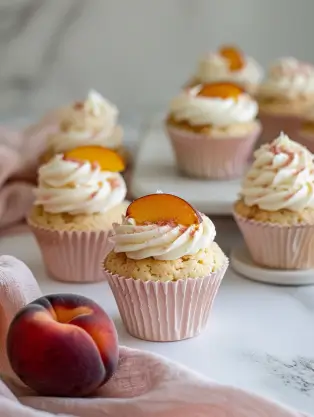
More Relevant Recipes
If you loved making these pickles, why not try your hand at other pickling recipes? Here are a few to keep your pantry exciting:
Each of these recipes promises to add flavor and zest to your dishes, just like our beloved Garlic Dill Pickles!
Thank you for joining me on this pickling adventure. Your enthusiasm for trying new recipes makes every kitchen experiment worthwhile. Can’t wait to see your own jars of crunchy, tangy Garlic Dill Pickles! Happy pickling!
Print
Garlic Dill Pickles
- Total Time: 20 minutes
- Yield: About 2 pints 1x
Description
Unveil the charm of homemade Garlic Dill Pickles with this simple, flavor-packed recipe. Transform crisp cucumbers into a tangy, garlicky treat, perfect for sandwiches, burgers, or as a delightful snack. Dive into the art of pickling with these easy steps and enjoy a crunchy, dill-infused delight that’s anything but ordinary!
Ingredients
1½ lbs. cucumber, fresh and crisp
4 garlic cloves, smashed
1 tsp. dried dill
½ tsp. red pepper flakes (optional)
1 cup apple cider vinegar
1 cup water
1½ tbsp. sea salt
Instructions
Thoroughly wash the cucumbers and cut into spears or slices.
In a saucepan, combine apple cider vinegar, water, and sea salt. Bring to a boil, ensuring the salt is dissolved.
In a sterilized jar, layer the cucumbers, interspersing with smashed garlic, dill, and red pepper flakes.
Pour the hot brine over the cucumbers, ensuring they are completely submerged.
Seal the jar and let it cool at room temperature. Refrigerate.
Allow the pickles to marinate in the fridge for at least 48 hours before enjoying.

Notes
For extra crunch, add a grape leaf or horseradish leaf to the jar. These leaves contain tannins that help keep the pickles crisp.
Ensure jars are sterilized before use to extend the shelf life of your pickles.
- Prep Time: 15 minutes
- Cook Time: 5 minutes (to boil brine)
- Category: Condiments
- Method: Pickling
- Cuisine: American
Nutrition
- Serving Size: 1 pickle spear
- Calories: Approximately 5 per spear
- Sugar: 0.5 g
- Sodium: 879 mg
- Fat: 0 g
- Saturated Fat: 0 g
- Unsaturated Fat: 0 g
- Trans Fat: 0 g
- Carbohydrates: 1 g
- Fiber: 0.3 g
- Protein: 0.2 g
- Cholesterol: 0 mg


1 thought on “Garlic Dill Pickles”